How to Cut Down a Tree: A Step-by-Step Guide

If you’re setting out to cut down a tree by yourself, let’s take a moment to talk about the process and how to approach this task safely and efficiently. Tackling tree cutting on your own can be daunting, but with the right knowledge and precautions, it can also be a satisfying way to take care of your property.
Cutting down a tree, whether it’s leaning precariously after a storm or simply needs to be removed for landscaping, requires careful planning and a focus on safety. Let’s break down the essential steps and techniques, and I’ll share some personal insights to help guide you through this process.
Safety First
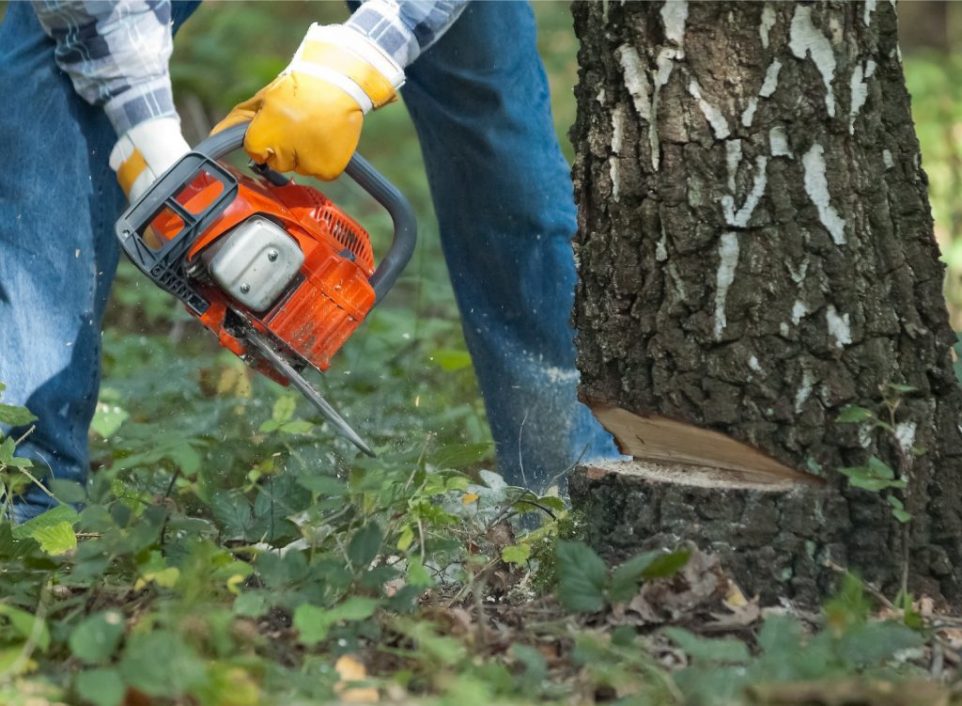
Before you even touch a chainsaw, make sure you’re dressed for the job. Safety gear is a must—this includes a hard hat, safety goggles, sturdy gloves, ear protection, saw chaps, and steel-toe boots. This gear protects you from falling branches, flying debris, the noise of the chainsaw, and — most importantly — chainsaw injuries.
| Don’t Use Damaged Safety Gear If any of your safety gear gets torn or broken while you’re working, stop and repair/replace them. Working with damaged gear is a huge risk to your health and safety. So don’t do it! |
What You’ll Need
Your primary tool will be a chainsaw, and having one that’s sharp and in good working condition is crucial. Check the chain tension and sharpness, and make sure your tree saw has enough fuel and bar oil. Also, keep a few tools handy like felling wedges and a sledgehammer or felling axe, which you’ll use to help direct the fall of the tree.
Some Quick Definitions
- Felling Wedge: plastic wedges that can help offset the weight of a heavily leaning tree and keep your saw from getting stuck
- Sledgehammer: heavy hammer for driving wedges
- Felling Axe: the blade of two-in-one tool can be used for cutting while the flat end can be used as a hammer for driving wedges
How to Cut Down a Tree
Take a walk around the tree and note where it leans naturally; this is usually the easiest direction to fell it. Also pay attention to any wounds in the tree or signs of rot or decay that may weaken the tree and make it fall unpredictably. That being said, you may not have the luxury of cutting with the lean in a residential area where you must avoid homes. For trees with especially heavy leans towards buildings, I recommend hiring a professional to avoid crushing your home or others. Better safe than sorry! Plan a clear escape route so you know you can safely get out of the way while the tree falls.
Make the Notch Cut

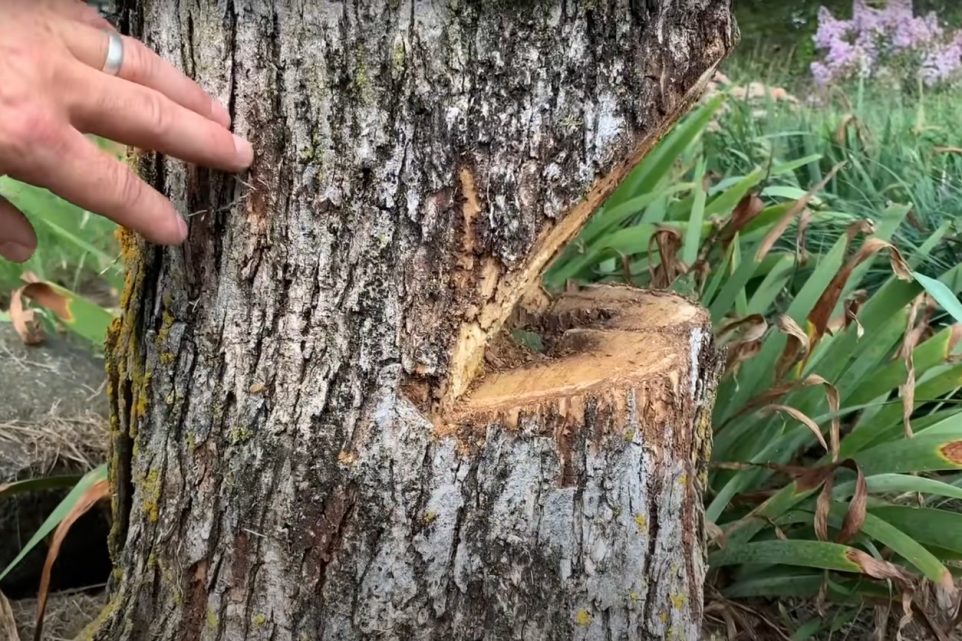
The notch cut, or face cut, is your first major cut. This cut guides the direction in which the tree will fall and consists of two cuts. One is horizontal and the other is an angled cut that meets the first to form a wedge shape. This should be done on the side of the tree facing the direction you want it to fall. When the bar of your saw is placed firmly to the back of your face cut, the gunning sights (or black line wrapping around the body of the saw) should be pointing to the area you want your tree to fall. As a rule of thumb, the depth of the notch cut should be about a third of the tree’s diameter.
Plan the Hinge

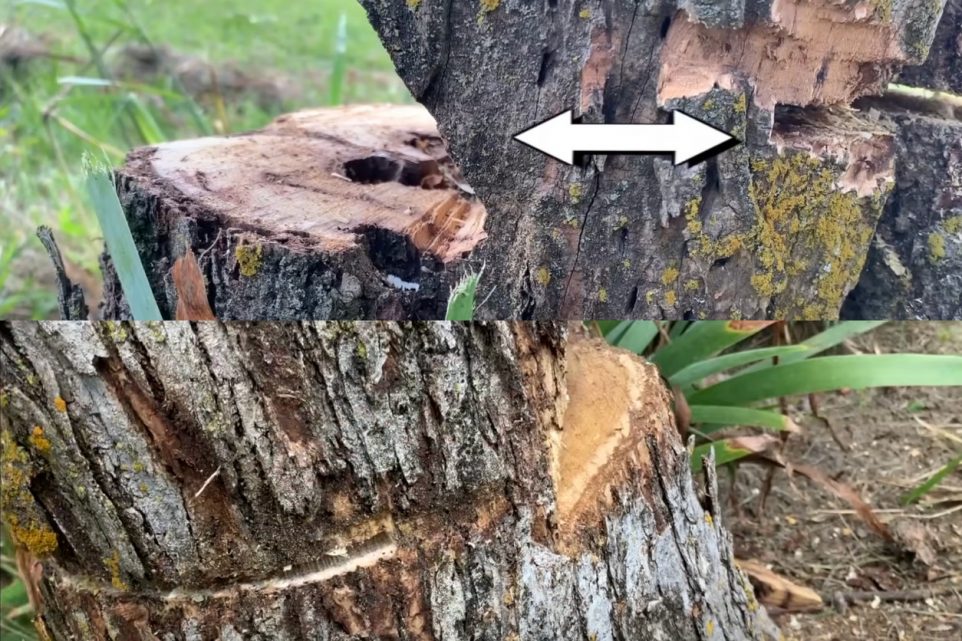
The hinge wood is what controls the tree’s fall and helps ensure it falls in the intended direction. This band of uncut wood should be about 1 to 2 inches thick, depending on the size of the tree. It’s crucial that this hinge remains intact and consistent for the tree to fall safely.
Make the Back Cut

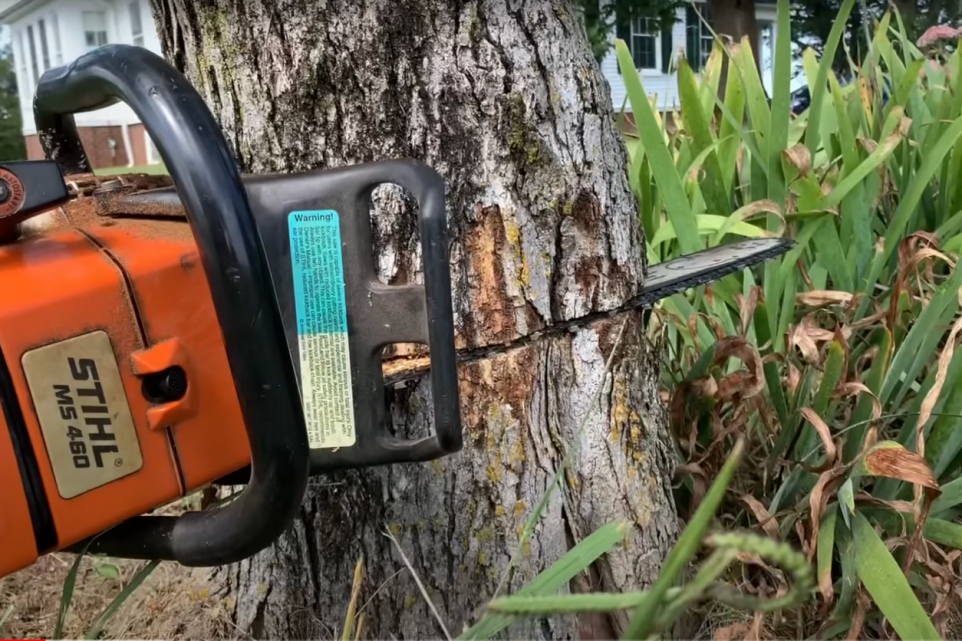
The back cut is made on the opposite side of the notch cut. It should be slightly above the bottom of the notch to ensure that a section of wood acts as a hinge. Saw until there’s just enough wood left to act as a hinge; do not cut through it! You can place wedges in the back cut to prevent the tree from settling back onto the chainsaw.
Watch and React
As you complete the back cut, be vigilant and ready to move. Once the tree starts to lean, turn off the saw and walk away along your planned escape route, keeping your eye on the falling tree but staying well clear of the fall line.
Managing the Tree Once Down
Once the tree is down, the job isn’t over. Cutting the tree into manageable sections for removal or processing is the next step. Always start cutting from the outer branches (a process called limbing) and work your way towards the trunk (this is called bucking), being mindful of tension in the branches that could cause them to snap back.