How to Build the Best Raised Beds for Your Garden

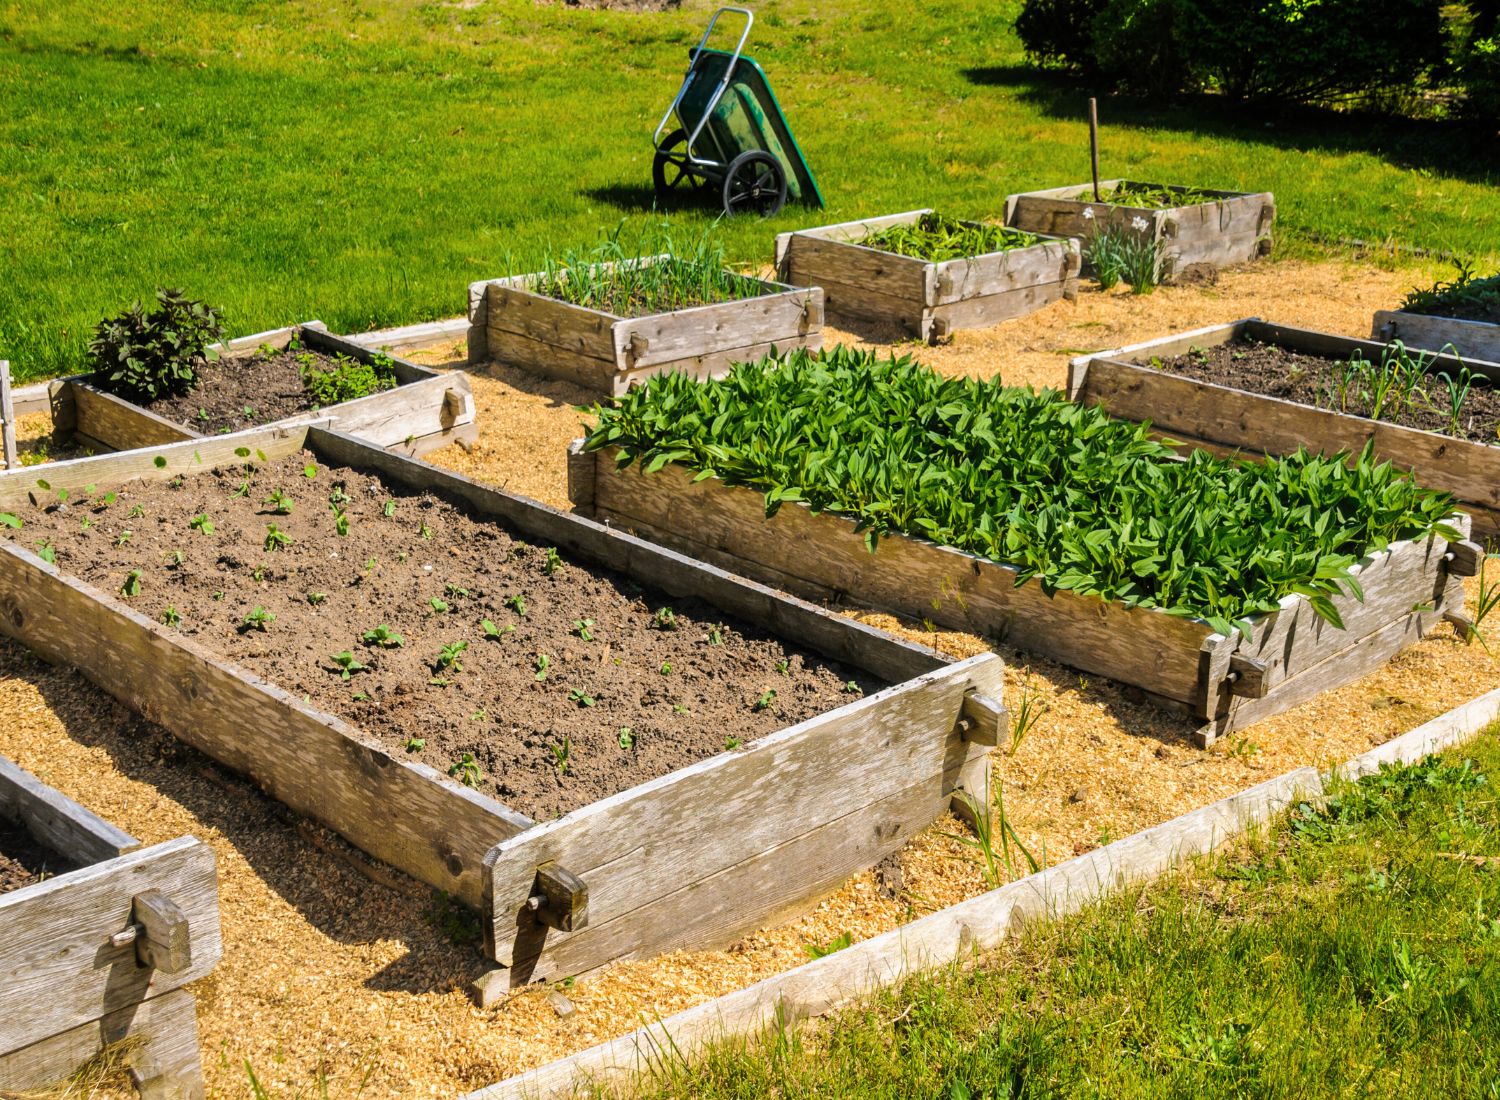
One of the most effective ways to achieve a thriving garden, particularly in spaces with challenging soil conditions or limited space, is by using raised garden beds. The winter months outside the growing season can be the best time to plan and build new raised beds in preparation for the coming spring. In this guide, we’ll walk you through the benefits of raised beds, the tools and materials you’ll need, and step-by-step instructions for building and installing them.
Why Choose Raised Garden Beds?
Raised garden beds offer several advantages over traditional in-ground gardens:
- Improved Soil Quality: With a raised bed, you have complete control over the soil composition, ensuring optimal conditions for plant growth.
- Better Drainage: Raised beds allow for improved drainage, reducing waterlogging and root rot.
- Ease of Maintenance: The elevated height reduces strain on your back and knees, making planting, weeding, and harvesting more comfortable.
- Pest Control: Raised beds can be equipped with barriers to deter burrowing pests like moles and voles.
- Space Efficiency: They allow you to optimize planting in smaller spaces, perfect for urban or suburban gardens.
Tools and Materials You’ll Need
Before starting your project, gather the following tools and materials. Proper preparation ensures a smoother building process.
Tools
- Measuring Tape: For accurate measurements of the space and materials.
- Saw: A hand saw or power saw for cutting wood or other materials to size.
- Drill: For assembling the frame.
- Level: To ensure the bed is even.
- Screwdriver: For tightening screws.
- Shovel: For leveling the ground and filling the bed.
- Staple Gun (Optional): To attach weed barriers or mesh.
Materials
- Lumber or Other Frame Material: Common options include cedar, redwood, pine, or composite wood.
- Screws or Nails: Galvanized or rust-proof screws for durability.
- Weed Barrier Fabric: To prevent weeds from growing through the soil.
- Soil Mix: A blend of topsoil, compost, and organic matter for optimal plant growth.
- Optional Add-ons: Mesh for pest control or hoops for covering plants.
Planning Your Raised Garden Bed
Size and Space Considerations
When determining the size of your raised bed, consider:
- Available Space: Measure the area where you plan to install the bed. Leave enough room around it for easy access.
- Plant Types: Root vegetables like carrots need deeper soil (12–18 inches), while herbs or lettuces can thrive in shallower beds (6–8 inches).
- Accessibility: Beds should be narrow enough (3–4 feet wide) so you can easily reach the center from either side. Length can vary based on your space but should be manageable for maintenance.
Material Options
The type of material you choose for your raised bed affects its cost, durability, and ease of assembly. Here’s a breakdown of common options:
- Wood: Cedar and redwood are rot-resistant and long-lasting, though more expensive. Pine is more affordable but may require treatment or frequent replacement.
- Recycled Materials: Pallets, bricks, or concrete blocks are eco-friendly and durable options, though they may be heavier to work with.
- Metal or Composite: Steel or composite wood beds offer a modern look and exceptional durability, though they may come at a higher cost.
Durability vs. Cost
Balancing budget and longevity is key. If you’re a beginner or unsure about long-term gardening, inexpensive wood is a good starting point. For serious gardeners, investing in high-quality materials pays off in the long run.
Step-by-Step Guide to Building Raised Garden Beds
Follow these simple steps to create your raised garden bed:
1. Prepare the Site
- Choose a Location: Select a spot with adequate sunlight, typically 6–8 hours of direct sunlight daily.
- Clear the Area: Remove grass, weeds, or debris to ensure a level surface.
- Level the Ground: Use a shovel and level to smooth uneven ground.
2. Cut and Assemble the Frame
- Measure and Cut Materials: Use the saw to cut your wood to the desired dimensions. For a simple rectangular bed, you’ll need two long pieces (length) and two shorter pieces (width).
- Drill Pilot Holes: To prevent wood from splitting, drill pilot holes before screwing the pieces together.
- Assemble the Frame: Attach the pieces using screws or nails to form a sturdy rectangular frame. Use a level to ensure the structure is even.
3. Install the Bed
- Position the Frame: Place the assembled frame in your chosen location. Adjust as necessary to ensure it sits evenly.
- Add a Weed Barrier: Lay down weed barrier fabric or cardboard at the bottom to suppress weeds.
- Secure the Bed: For taller beds, consider anchoring the frame into the ground using stakes for added stability.
4. Fill with Soil
- Layering: Start with coarse organic materials like twigs or straw at the bottom for drainage. Add a rich, well-draining soil mix on top. Aim for a combination of:
- 50% topsoil
- 30% compost
- 20% organic matter (e.g., peat, aged manure)
- Level the Soil: Spread the soil evenly within the frame, leaving a few inches below the top edge.
5. Optional Add-Ons
- Pest Protection: Add a mesh or wire screen at the base to deter burrowing pests.
- Covers or Hoops: Install hoops to support frost covers or netting for year-round gardening.
6. Start Planting
- Choose plants suited to your climate and season. Group plants with similar needs together for better care and efficiency.
Final Thoughts
Building a raised garden bed is an excellent investment in your backyard garden. With better control over soil quality, improved drainage, and easier maintenance, you’ll be set up for gardening success. Whether you’re a seasoned gardener or a novice, following these steps ensures a sturdy and productive garden bed that can last for years. By choosing the right materials, planning carefully, and maintaining your beds, you’ll enjoy the fruits of your labor—literally and figuratively—in no time.