How to Make a Holiday Wreath from Garden and Tree Clippings

Creating a Christmas holiday wreath from garden and tree clippings is a delightful way to bring a touch of nature and creativity into your home during the festive season. It’s sustainable, cost-effective, and adds a personalized charm to your holiday decor. Whether you’re a seasoned crafter or new to wreath-making, this guide will walk you through the process step-by-step.
Materials and Tools You’ll Need
Materials
- Wreath Base:
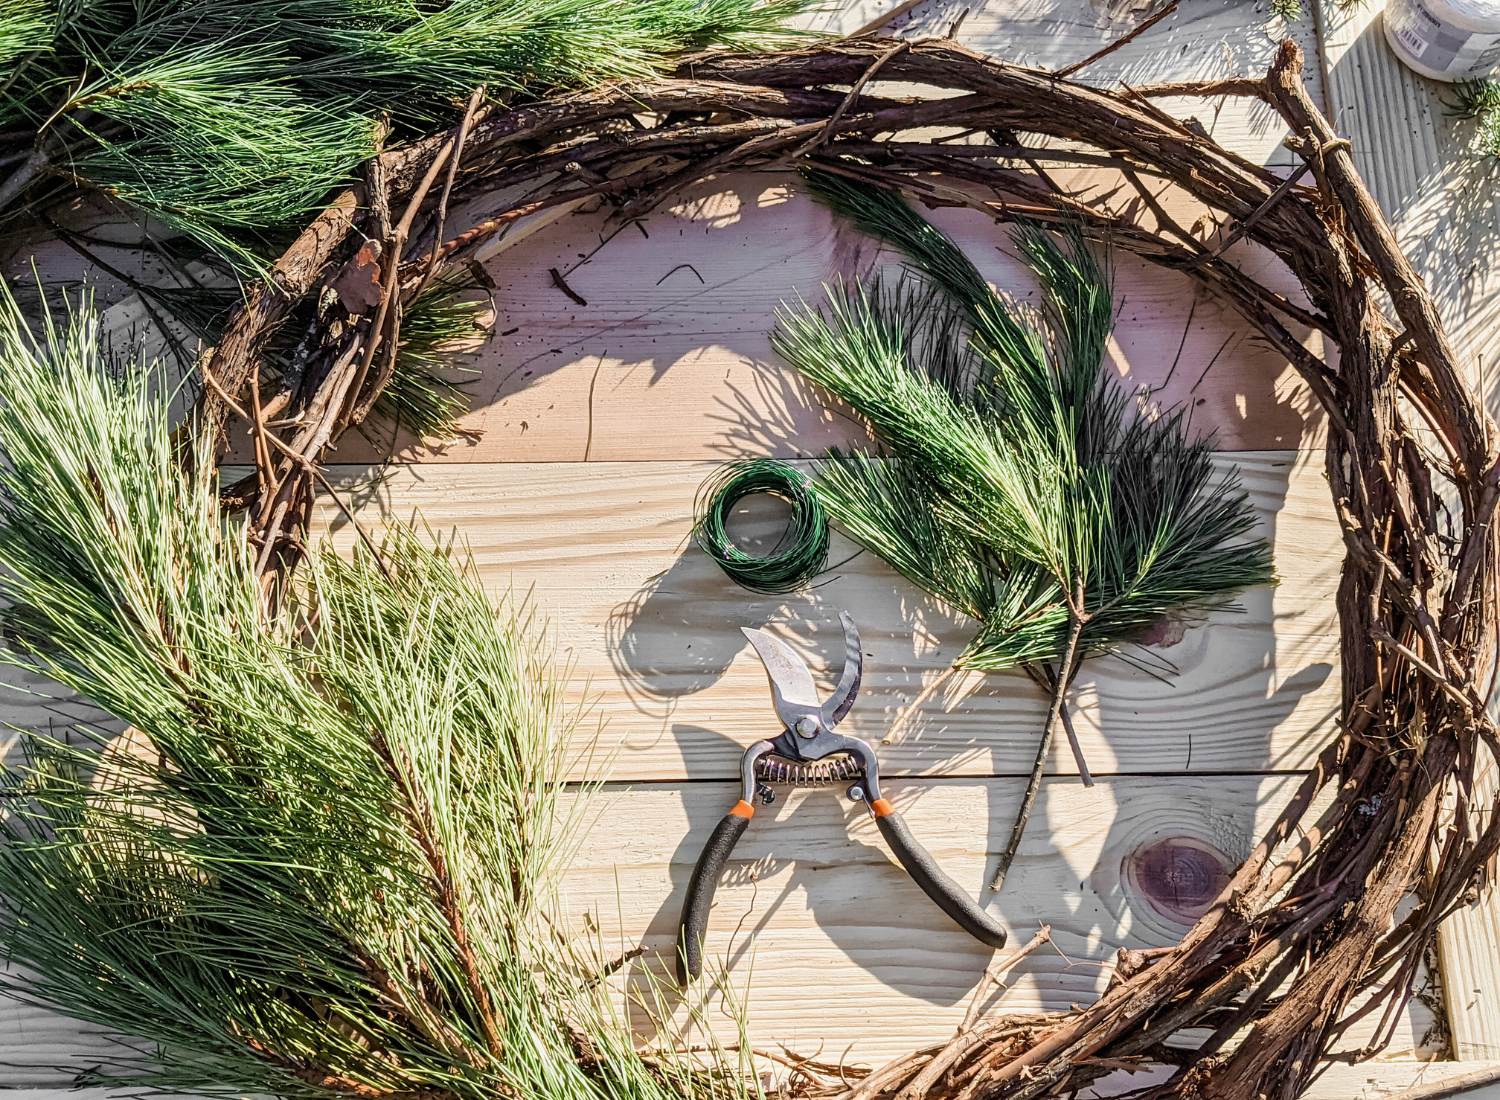
- Grapevines, willow branches, or a wire frame.
- Alternatively, you can craft a base by bending pliable branches into a circle and securing them with twine.
- Foliage for the Base:
- Evergreen clippings: pine, fir, cedar, or spruce.
- Holly leaves or ivy for added structure.
- Accent Plants and Decorations:
- Berries: holly berries, juniper berries, or nandina.
- Seed pods or cones: pinecones, eucalyptus pods, or acorns.
- Flowers: dried hydrangea, rose hips, or ornamental grasses.
- Herbs: rosemary, thyme, or lavender for fragrance.
- Optional Decorations:
- Ribbons, bells, or ornaments for added holiday flair.
Tools
- Pruners or garden shears
- Floral wire or twine
- Wire cutters
- Hot glue gun (optional, for securing decorations)
- Gardening gloves (to handle prickly plants like holly)
Step-by-Step Guide to Crafting Your Wreath
Step 1: Prepare Your Base

The base provides the foundation for your wreath. If you’re using a pre-made wire or grapevine base, you can skip this step. Otherwise:
- Select long, flexible branches like willow, grapevines, or thin birch twigs.
- Shape the branches into a circle of your desired size. Overlap the ends and secure with twine or floral wire.
- For added sturdiness, weave a few more branches around the circle.
Step 2: Collect and Prepare Clippings
Head out into your garden or yard to gather materials. Look for a mix of textures and colors to make your wreath visually appealing.
- Cut evergreen branches into smaller pieces (6-8 inches long). These will form the bulk of your wreath.
- Gather accent plants like berries, pinecones, and flowers. Choose a variety of shades—rich green, red, white, and even silver hues work beautifully.
- Shake off dirt and remove any insects from the clippings.
Step 3: Attach the Greenery to the Base
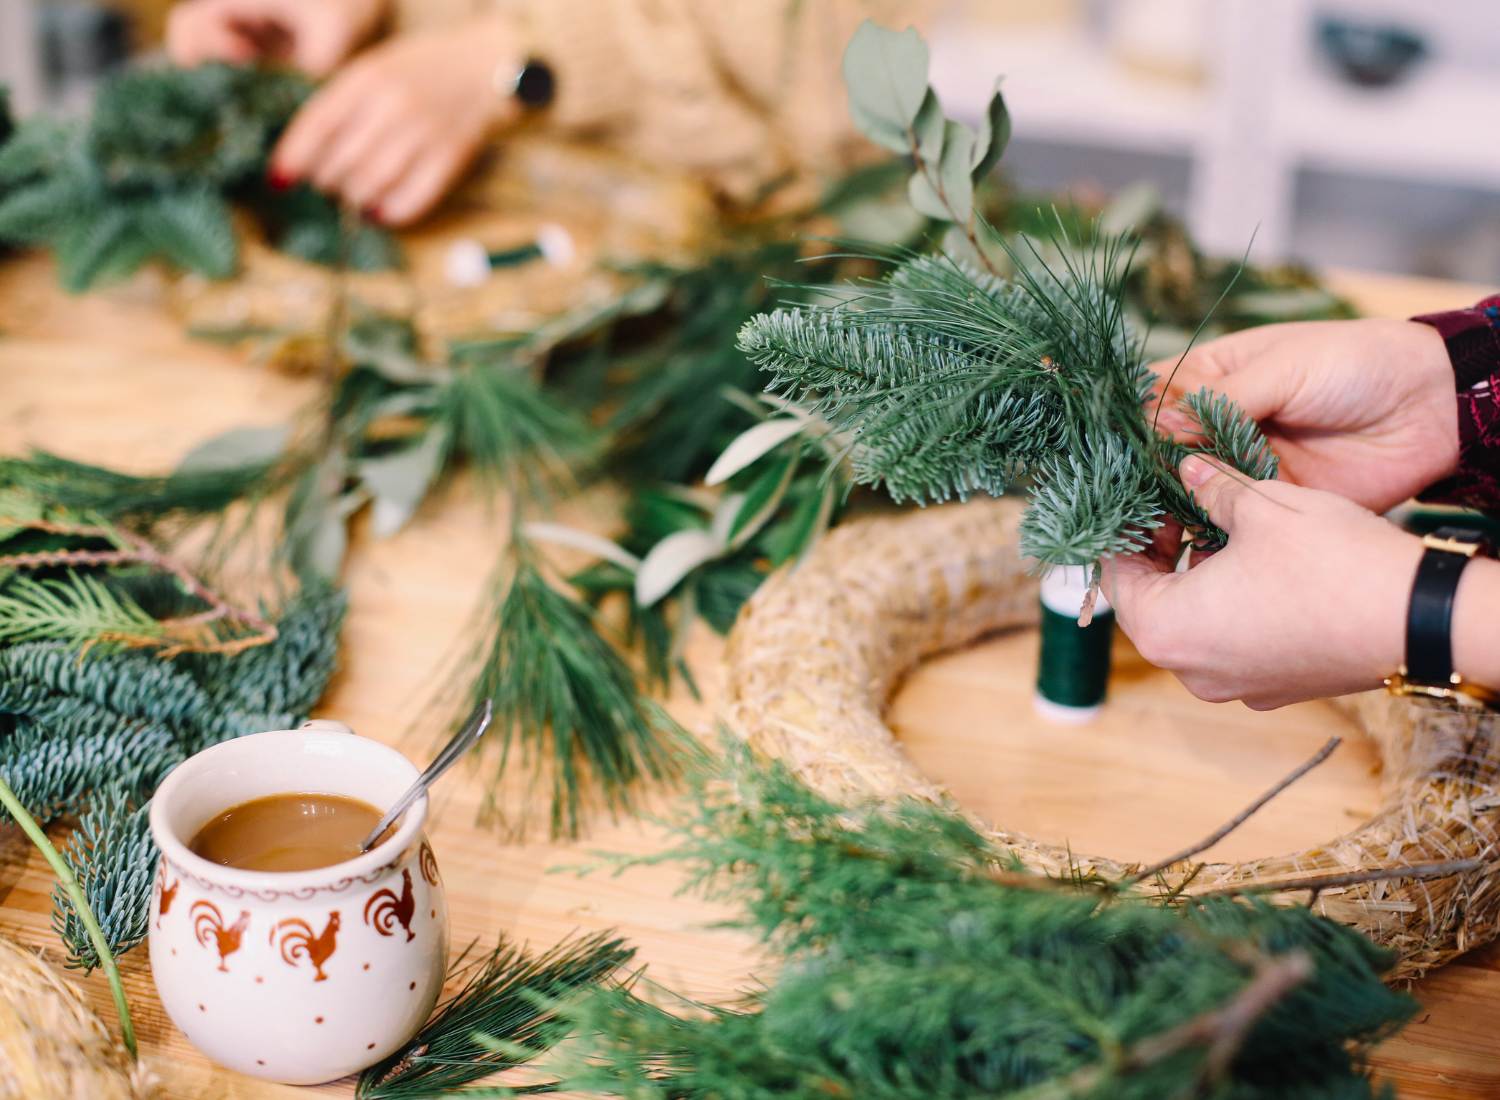
- Take a small bundle of evergreen clippings and lay them against the base.
- Secure the bundle with floral wire by wrapping it around the base and stems tightly.
- Overlap the next bundle slightly over the previous one to hide the wire. Repeat this process around the entire frame, ensuring even coverage.
- Vary the types of evergreens to create texture and depth.
Step 4: Add Accents

Now it’s time to make your wreath pop!
- Tuck small clusters of berries, pinecones, or seed pods into the greenery.
- Secure these accents with floral wire or hot glue.
- Distribute the accents evenly, or group them for an asymmetrical, modern look.
- If adding dried flowers or herbs, layer them strategically to ensure they don’t overpower the foliage.
Step 5: Finish with Final Touches
- Attach a decorative bow, bells, or ornaments if you’d like a more festive appearance.
- Use floral wire to create a hanging loop at the top of your wreath.
Best Plants to Use for the Base and Accents
Plants for the Base
- Pine: Long, soft needles and a classic holiday fragrance.
- Fir: Dense and durable, perfect for a sturdy base.
- Cedar: Offers a feathery texture and vibrant green color.
- Holly: Adds structure with its glossy, spiked leaves.
Plants for Accents
- Holly Berries: Bright red berries that stand out beautifully.
- Juniper Berries: A cool blue hue for a frosty look.
- Rose Hips: Deep red and long-lasting.
- Pinecones: Add natural charm and texture.
- Eucalyptus: Its silvery-green leaves create an elegant, modern touch.
- Lavender: Provides fragrance and a soft, purple accent.
Pro Tips for a Stunning Wreath
- Layering: Work from largest to smallest when adding greenery and accents. Start with broad evergreens, then layer smaller, more delicate items.
- Symmetry: Even if your design is asymmetrical, balance the overall weight of greenery and accents across the wreath.
- Preservation: Spray your finished wreath with water daily and hang it in a cool, shaded spot to keep it fresh throughout the season.
Why Make a DIY Wreath?
Crafting a wreath from garden clippings is more than just a creative project—it’s a celebration of nature and sustainability. By using what’s already in your yard, you reduce waste and avoid store-bought items that might lack the same charm. Plus, it’s a great way to involve family or friends in a fun holiday tradition!
So grab your pruners, head outside, and start snipping. Before you know it, you’ll have a beautiful, handmade wreath ready to grace your front door or serve as a centerpiece for your holiday festivities.
Happy wreath-making!